← All Integration GuidesINTEGRATION GUIDE · SHOPLUSAccept Crypto Payments with Shoplus
Connect Shoplus using its compatible payment interface. Customers start at your storefront and continue to MochiPay checkout; no independent plugin download is required.
Demo walkthrough · illustrative configuration · use a small real payment to verify your own setup.
 Payment-flow illustration. For payment links, the confirmed order is in MochiPay.
See the complete payment outcome
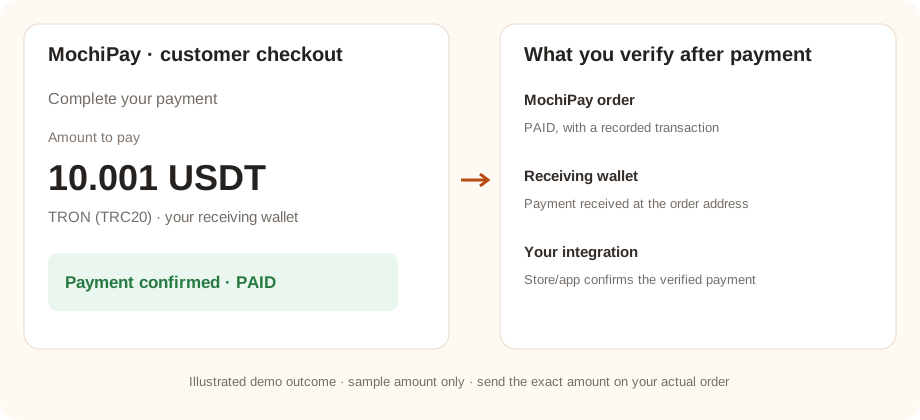
Demo illustration with sample values. Verify these outcomes using a real small payment in your own setup; the checkout amount and confirmation requirements depend on the order.
01 · Prepare your MochiPay account
- Create an account and activate a subscription.
- Open Wallets, choose Add HD Wallet → Generate New, securely back up the recovery phrase and save the wallet. Enable the asset/network you will use for the test.
- Set a recognizable customer-facing Display Name in Profile.
- Open API Credentials and copy your API key. This SaaS URL uses the key; it does not contain your API secret.
Ready when: your subscription and receiving wallet are active, and you have the credentials needed below.
See the illustrated account setup →03 · Place and pay a test order
Add a low-priced demo product to your storefront cart. At checkout, select the MochiPay option and the enabled USDT/TRON payment choice. Place the order and continue to hosted checkout.
- Confirm the selected asset is USDT and the network is TRON (TRC20). For this example, have USDT and enough TRX for the sending wallet’s network fee.
- Send the exact amount on the payment page to the displayed receiving address. Do not round or reuse an address from a different order.
- Wait for the required blockchain confirmations and the MochiPay order to become
PAID.
The store/API example may price the product in USD. MochiPay locks the conversion when creating the order; unique amount adjustments can change the final payable amount. The checkout value is the amount to send.
Success check: the MochiPay order shows PAID, with the transaction recorded. Opening the browser return page alone does not prove payment.
04 · Verify the result and wallet receipt
Verify the store order reaches its configured paid state. If MochiPay is PAID but the storefront is not updated, inspect the platform callback/notify URL and reachability.
Match the payment transaction and receiving address with your MochiPay order. Review the receiving wallet or blockchain explorer. Funds are already in your receiving wallet; there is no platform withdrawal request.
To move funds, use a compatible wallet and allow for blockchain confirmations and native network fees. Read the receiving-wallet management guide →
If the test does not complete
The payment option or order cannot be created
Check subscription status, an active receiving wallet, payment method code, credentials and the exchange-rate pair for the order currency. For plugins, also check the method is enabled for the store scope/customer used in the test.
The payment is still waiting or underpaid
Compare the asset, network, address and exact payable amount with the transaction. Wait for required confirmations. Do not mark a store order paid based only on a screenshot or browser return.
MochiPay is paid but my store/application is not updated
Check that notify/callback endpoints are publicly reachable over HTTPS and not blocked by authentication or a firewall. Confirm the integration can query MochiPay and inspect its error logs. Payment links alone update MochiPay, not an external store.